

Challenge #4
Stay Alert with Spam Notifications
Upgrade your email security with proactive spam notifications in Exchange Online. Keep you or your administrators informed and act swiftly against potential email threats.

Why?
Email is not just a communication tool; it’s a gateway that can either protect or expose your business to cyber threats. That’s why it’s crucial to have a system in place that doesn’t just block spam but also alerts you when suspicious activity occurs. With Exchange Online Protection (EOP), you already have a defense against spam. But to strengthen this defense, configuring your Spam Policies to send notifications is key.
By setting up these alerts, you create an early warning system. Imagine it as a watchful guardian that quickly informs your administrators, possibly even you, whenever there’s unusual email activity, such as an account sending out spam. This is not just about filtering unwanted emails; it’s a strategic move to understand and address vulnerabilities in your email system. Quick detection means quick action, preventing potential breaches and ensuring that your email communications remain a secure channel for your business.
How?
Enabling spam notifications in Exchange Online is a straightforward process. Here’s how you can set up these vital alerts to enhance your email security:
Step 1: Go to the Microsoft 365 Defender Portal
On your computer, launch a new browser window (Edge, Chrome), and type in https://security.microsoft.com/ and press enter.
Note: You will require Microsoft 365 administrative credentials – be sure to have the username and password ready.
Step 2: Adjust Email & Collaboration Policies
Within the Microsoft Defender Center:
- Look for and select Email & Collaboration along the left-hand side menu
- Under Email & Collaboration, look for and select Policies & rules
- In the Policies & rules window, select Threat policies
Step 3: Edit Anti-spam Settings
- Within the Threat policies window, under Policies, find and select Anti-spam
- In the Anti-spam policies, select the Anti-spam outbound policy (Default)
Step 4: Set Up Notifications
- In the new blade (a nice name for that window that appeared after clicking the outbound policy), scroll down and select Edit protection settings
- Find the Notifications section, choose to enable the two options by clicking the checkbox
- Once enabled, you will be asked to enter the full email address of the individual (or individuals) who should receive notifications
- Type in the full email address and hit Enter once complete
Step 5: Save Your Settings
- Once you are satisfied, click Save.
While you’re here…
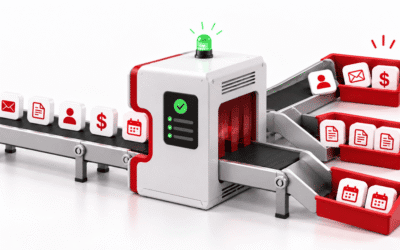
Automation without governance is just faster chaos
Automation governance is the set of controls that helps a business understand, manage, and oversee its automated workflows.The automation kept running exactly as it had been configured. The problem was that one of the rules underneath it was wrong. Imagine a...
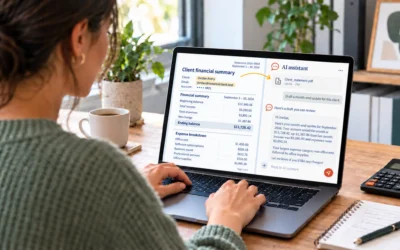
Someone in your business is already using AI. What should you check?
Shadow AI is employees using AI tools, such as chatbots, meeting assistants, or browser add-ons, that the business hasn't reviewed or approved. To find it, ask staff to walk you through a recent task, have IT review sign-in records and the permissions connected tools...

How to Evaluate an IT Provider’s Performance: What We Measure and Why
A well-run IT provider tracks a small set of measures with named owners and reviews them regularly. Five worth asking about: customer satisfaction (CSAT), SLA performance, Microsoft Secure Score, team utilization, and employee sentiment (eNPS). The key question to...